
Setting Authorities:
As the number of queue managers grows in your network and there are more security concerns about queue managers and their objects, there is a need of securing MQ objects selectively. An Application Programmer may need to connect some particular queue managers, view particular queues and view messages on them. A System Administrator may be required to perform all the tasks on certain queue managers only. An EAI Developer may be expected to work with queue managers related to WebSphere Business Integrator only. All these people require a specific security system which allow them to perform their tasks selectively. This can be achieved by WMQTool very easily.
With the WMQTool, you can set a centralized authority file which can be shared among all the users of WMQTool in your entire organization. Please read the following sections carefully for how to set it.
To create the file, you need to have full authorities to all the queue managers in your network. If you do not have, still you can create the file, but will not be able to connect the queue managers, if WMQTool Security Exit is set.
Note: To learn how to set WMQTool Security Exit, please refer to 'Creating a key file' section. Without implementing Security Exit, anybody can create a shared/key file and have access to any queue manager using WMQTool or any Java application.
If you do not want to create a shared file, you can still create a key file per user, as provided in previous release of WMQTool. But the priority is given to the shared file. It means, if you set the shared authority file and WMQTool also finds a key file in the root directory of WMQTool installation for the user, WMQTool will load the information from the shared file, and NOT from the key file. Key file is only used when shared file is not set.
Using a shared file is more advanced approach than using a key file. When you use a key file, you cannot selectively authorize a user for certain only queue managers. The authorities set in WMQTool will be applicable to all the queue managers. You will have to create one key file per user. Of course, you can create copies of a key file using WMQTool only and not by Windows Explorer's copy and paste.
When you use a shared file, you can assign certain queue managers to certain group of people with certain authorities. You do not have to create separate files for different users but you can easily authorize them.
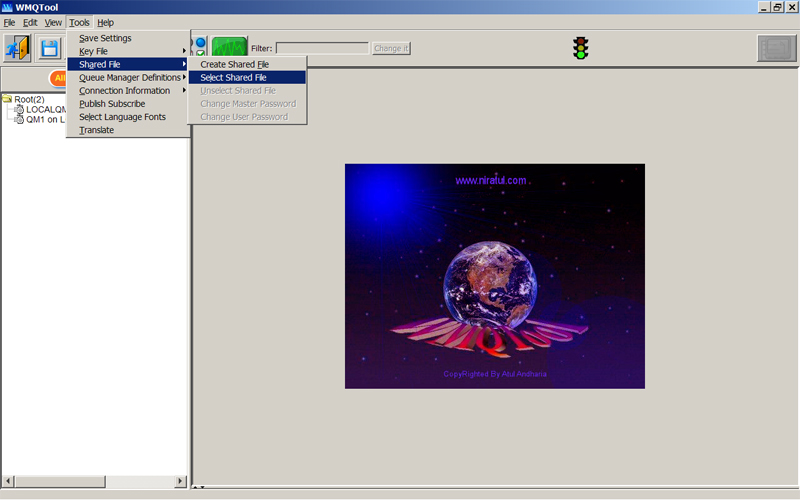
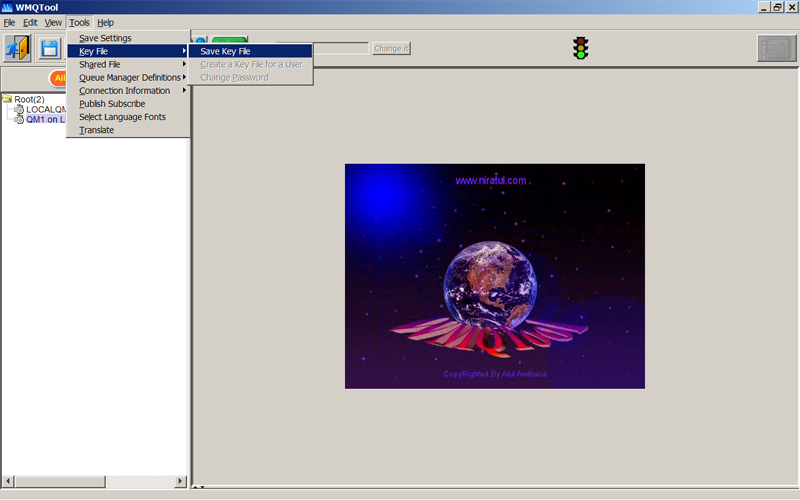
To create a shared file, select Tools/Set Authorities/Shared File from the menu.
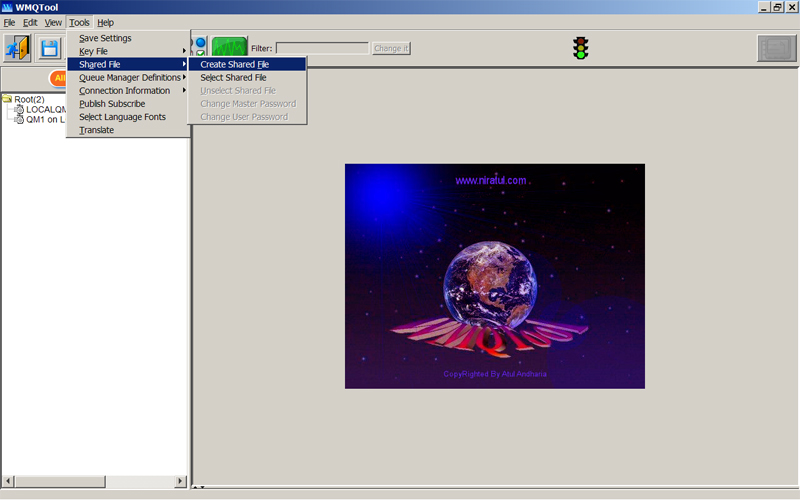
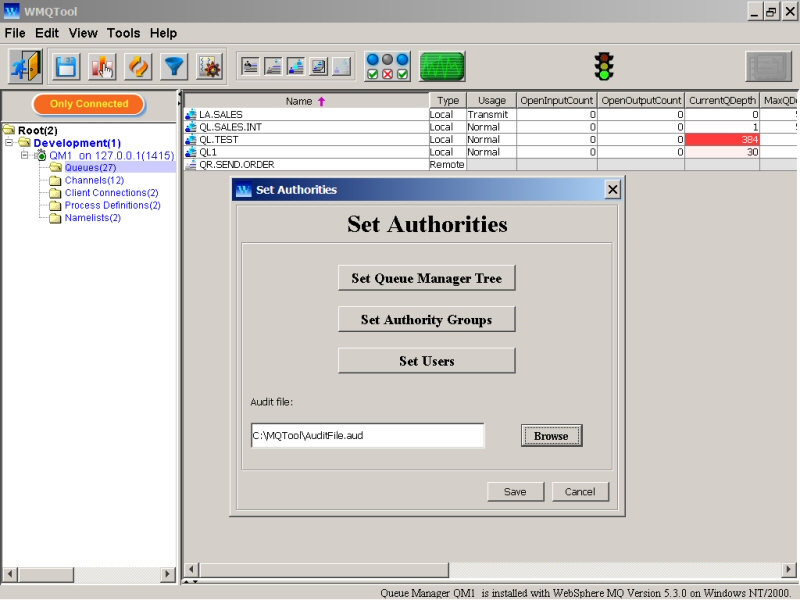
When you click on 'Shared File', following screen is displayed.
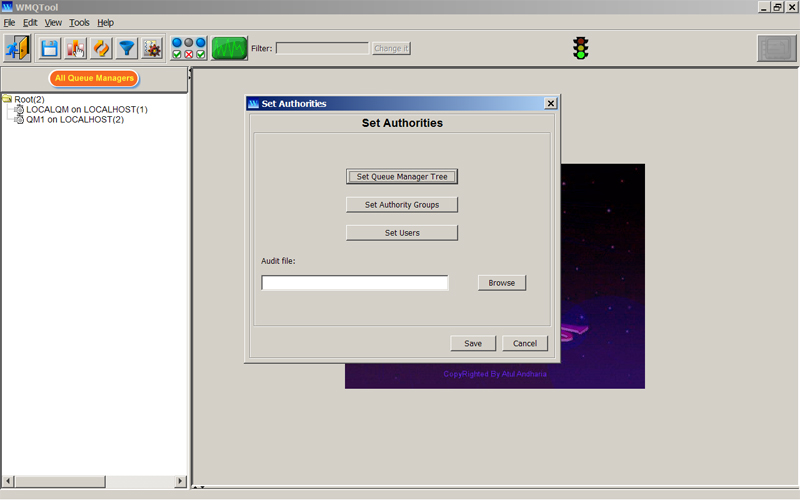
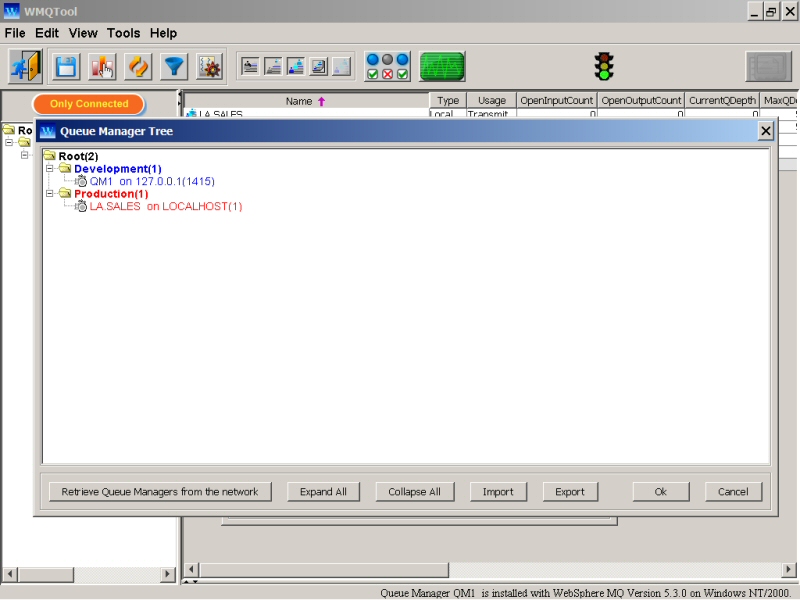
To set the Queue Manager tree, click on the button 'Set Queue Manager Tree'. A blank queue manager tree with only one node 'Root' is displayed as shown below.
Right click on 'Root' or any category. It will display a drop-down menu as follows.
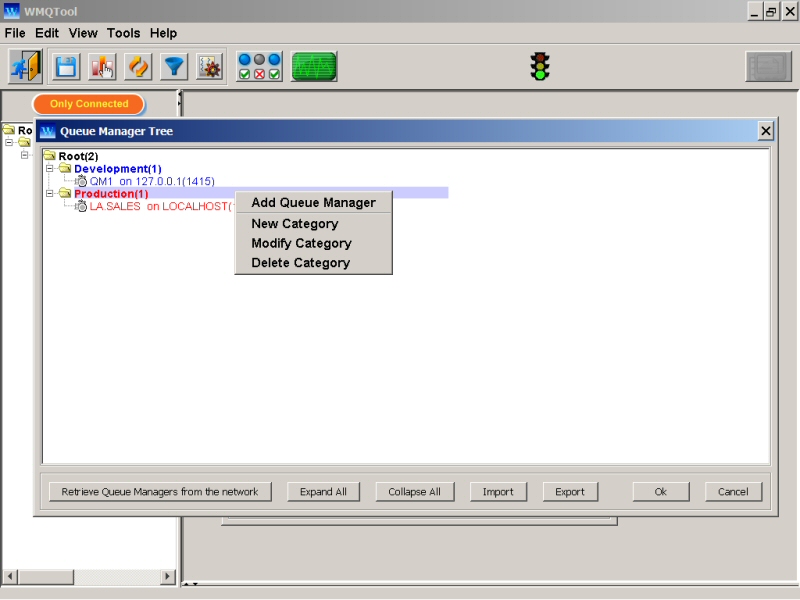
Click on 'Add Queue Manager' to add connection information for a queue manager.
Enter all the required information here. For description and guide lines of the fields, please refere to the 'Queue Manager' section of this documentation.
Hit 'Ok' when you are done, 'Cancel' to abort.
When you hit 'Ok' the queue manager entry will appear just under the 'Root'.
When you right click on a queue manager, it shows a popup menu like follows. Note that 'Connect Queue Manager' option is deactivated.

To put this queue manager under a user-defined category, create a new category by selecting 'New Category' from the above drop-down menu.
See that with Version 3.3, you can also assign color to this category. This color is also inherited to all the sub categories and queue managers therein, unless they have their own color specified.
One can easily identify category of a queue manager by looking at the colors. For example, you may want to assign a blue color to all the queue managers of Development environments and red color to that of Production environments.
Once you have created the categories and queue managers, if you want to place the queue manager under another category, simply drag and drop the queue manager onto the intended category. The queue manager will now appear under that category.
To modify the information of a queue manager, right click on the queue manager entry on the tree. A drop-down will be displayed as follows. Select 'Modify Queue Manager' to modify the information or 'Remove Queue Manager' to remove the connection information of that queue manager from the tree.
It might be painful to add all the queue manager definitions in your network this way particularly when the number of queue managers is greater. Instead, you may want to add all the information automatically.
WMQTool provides two ways to do this. (1) Let WMQTool find connection information of all the queue managers in your network. (2) You can write all these information in a file in an XML format and WMQTool will read it from that file.
Retrieving Queue Manager Connection Information from the network:
Just provide the connection information about a considerably 'Busy' (means, having channel connections to many other queue managers in your network) queue manager and WMQTool will find almost all the queue managers in your entire network! From Ver 5.0, WMQTool will also find mainframe queue managers. Mainframe queue managers will be indicated with a suffix "(MainFrame)" after the queue manager name in the table. For retrieving queue manager information from your network, WMQTool tries to connect all the queue managers using default server connection channel SYSTEM.DEF.SVRCONN.
To achieve this, click on the button 'Retrieve Queue Managers from the network' on the left bottom corner.
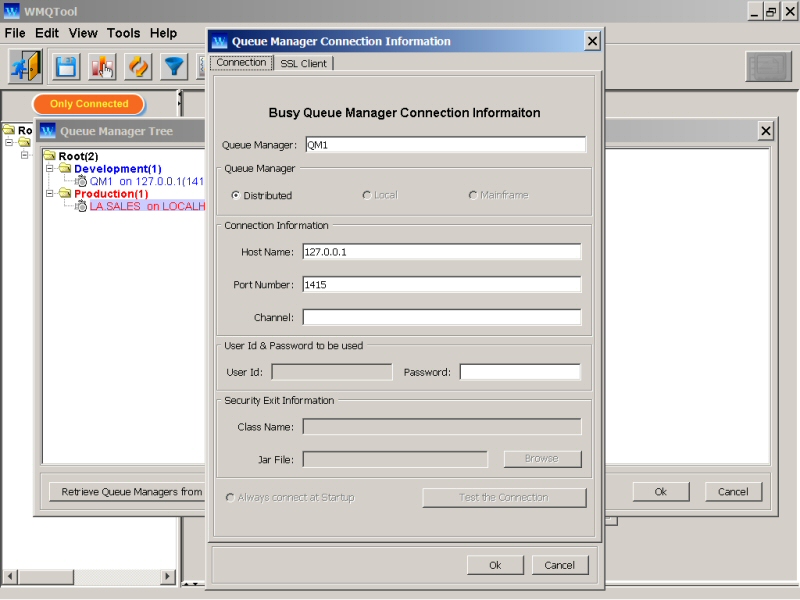
Provide the connection information about a considerably 'Busy' queue manager. You cannot provide a local or mainframe queue manager name here. So the check boxes for them are disabled.
Click 'Ok' to confirm, 'Cancel' to abort. A new window will be opened showing all the queue managers found in your network as follows.
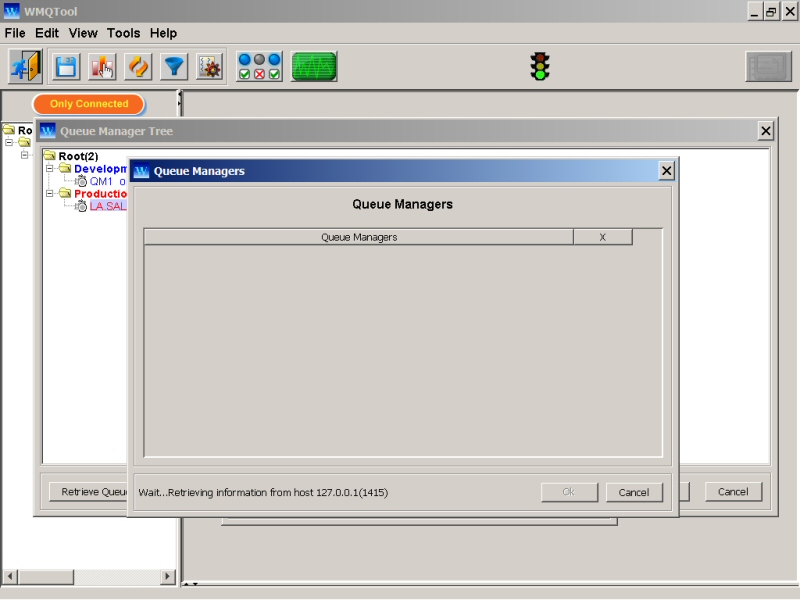
Note that there are two buttons visible at the right bottom, 'Ok' and 'Cancel', and only 'Cancel' button is activated. This is because, WMQTool is currently searching the information about all the queue managers. So what you can do at this moment is, only abort the function. Look at the left bottom message line. It says 'Wait...Retrieving information from host ...." which means that WMQTool is currently trying to connect to that server for queue manager information. Information about the queue managers found are displayed in the window in bold face, with check box checked at the end. The list of queue mangers is provided in alphabetical order. Once WMQTool finishes gathering information about all the queue managers, it will display as follows.

A file 'qmreport.txt' is created as under to list the queue managers and failed connections.
*************
* *
* WMQTool *
* *
*************
*
* Created on Thu Mar 03 21:52:32 EST 2005
*
QUEUE MANAGERS:
===============
Queue Manager Connection Name(Port No)
LOCALQM FNSDL11(1414)
Failed connections
==================
LOCALHOST(1415)
Importing Queue Manager Connection Information from an XML file:
The XML file can be created either by exporting the information data by clicking on 'Export' button or can be written by you. When you prefer to write it yourself, please keep in mind the following points.
The main tag, normally and by default 'Root', has to be a Category.
Define all the Categories and queue managers in a desired tree structure.
Use following tags. Some tags are required to be compulsory and in the same order as specified below.
For Category:
Category Name, after removing embeded spaces, if any. This is a tag name. The rest of the following are attributes.
Type='Category' (this attribute is required as it is).
Value='<category name>', here you can specify the category name with embeded spaces. This will be displayed in the queue manager tree on left pane of WMQTool.
Red, Green, Blue. These tags are specified with an integer between 0 to 255. They are optional. If you do not specify them, category and all its children will be displayed with default color. If you specify, a color will be produced to display the category and its children by taking RGB values.
For Queue Managers:
Queue Manager Name, case sensitive. This is a tag name. The rest of the following are attributes.
Type: 'QueueManager': This attribute is compulsory and must be as it is.
Host: Enter host name in this attribute. It is compulsory.
Port: Enter port no. It is compulsory.
Channel: Enter ServerConnection channel name here. This is optional.
MainFrame: Specify 'Yes' OR 'No ', depending upon the queue manager. This is optional.
UserId: Enter userid to be used whie connecting this queue manager. This is optional.
ClassName: Class name of Client Security Exit. This is optional.
JarFile: Jar file name with absolute path. This is optional.
StartUp: Enter 'Yes' if you want to connect this queue manager else 'No '. This is optional.
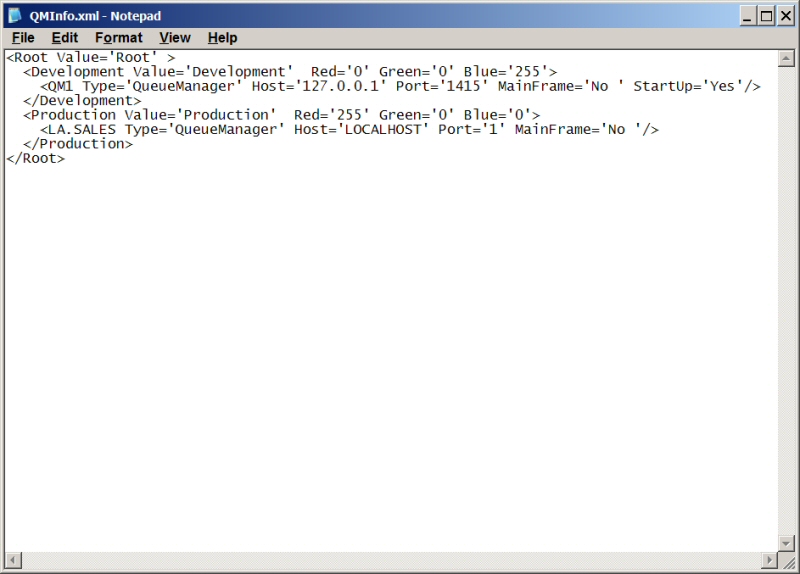
It is highly recommended that you open this XML document using Windows Internet Explorer to verify the validity of the XML. Internet Explorer would give you an error for invalid XML document.
An example of the XML file which could be imported.
You may want to export your current connection information to a file. Click on the 'Export' button. A file dialog box will be displayed. Select the folder and enter the file name. An 'xml' file will be generated having all the connection information defined.
Click on 'Import' button.
There will be two more buttons on the left bottom, 'Select All' and 'Unselect All'. Clicking on 'Select All' button will select all the queue managers by checking the check boxes in front of them. Clicking on 'Unselect All' button will remove check marks from all the check boxes and all the queue managers will be displayed in normal fonts. You may want to select or unselect queue managers depending upon your choice to add the queue managers on the queue manager tree. These queue managers are uniquely identified by host name and port number. If the host name is provided as DNS name at one place and IP Address at another place, WMQTool will create two entries for the same queue manager. Host name is considered as case insensitive, means upper case host name is considered as same as the lower case one. Mainframe queue managers will be displayed with "(MainFrame)" after the queue manager name in the list.
If WMQTool cannot connect any queue manager in network for any reason, the connection will be displayed in the table as '~FailToConnect on ..." entry at the end of the table. WMQTool will not allow you to select these entries.
Click on 'Ok' button when you are done with 'Selecting/Unselecting' queue managers or 'Cancel' not to add any queue managers on the tree.
After creating all these queue managers informations on queue manager tree, what is left for you is creating different categories and placing relevant queue managers into those categories by drag and drop. You may want to test the connection of any queue manager. Select the queue manager and click on 'Test Connection' button. If successful, WMQTool will display a successful message.
WMQTool stores shared files and key files in encrypted forms. If for any reasons these files are corrupted, there is no way you can retrieve your information back. The main hard work for creating the file again is, creating the queue manager tree. Since WMQTool 3.2, the latest queue manager tree is always backed up in the file 'QMSettings.txt'. It is automatically created under WMQTool's root directory whenever you make any changes in the tree. It is in Text, readable form. Do not try to modify this file as the contents are absolutely positional. Modifying this file may fail WMQTool to use it in the events of shared file corrupted. In normal circumstances, this file is NOT used. It is solely for the purpose of retrieving queue manager tree information in the failure/absence of shared file. It is advisable to take backup of this file along with the shared file.
Once you are done with creating the queue manager tree, you need to create authority groups. Authority Groups consist of information about the authorized queue managers and authorities to the selected objects of those queue managers.
Click on 'Set Authority Groups' button. It will open up a new window and display something like follows.
To create a new authority group, click on the button 'New Authority Group' at the left bottom corner.
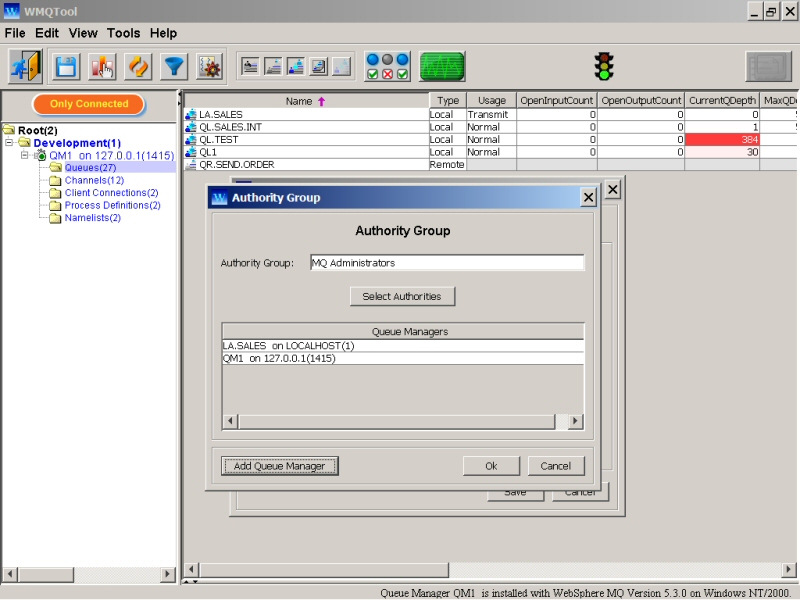
A new window like follows will be opened.
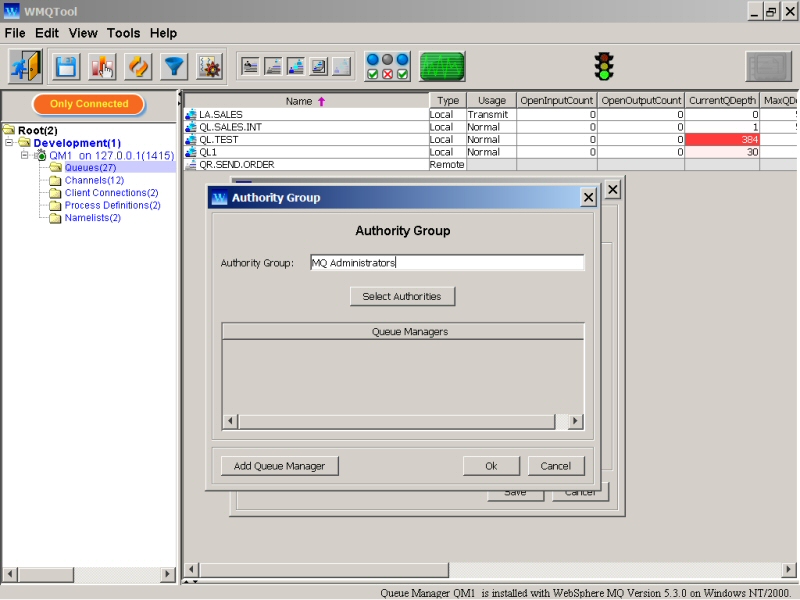
Enter the name of the Authority Group, for example, 'MQ Administrators', in the field 'Authority Group'.
To provide selective authorities to this group, click on 'Select Authorities' button.
Select the authorities you want to assign to this group and unselect rest of the authorities by checking/unchecking. Click 'Ok' when done, 'Cancel' to abort.
Now you need to assign queue managers to this group. Click on 'Add Queue Manager' button. A new window with list of all the queue managers will be displayed.
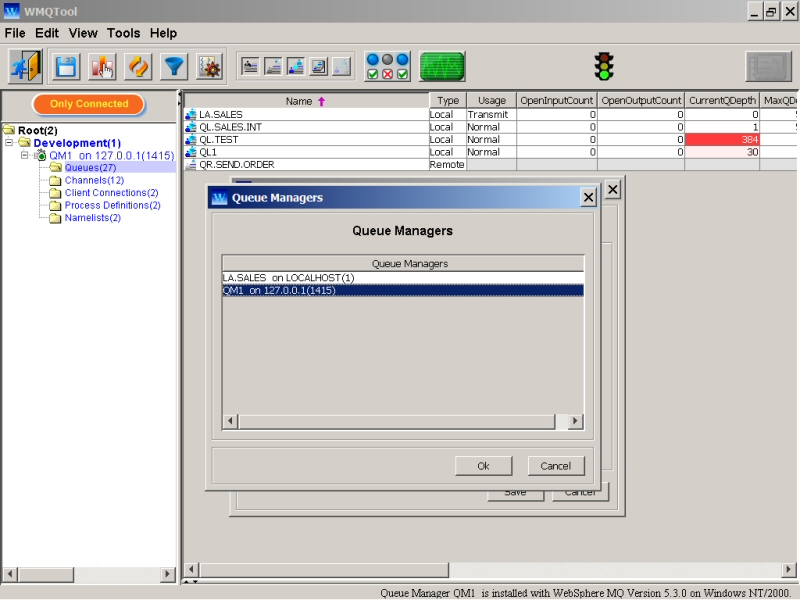
Select the queue managers by clicking on them. You can select multiple queue managers at a time by clicking mouse on the desired queue manager and holding down 'CTRL' key on the keyboard. You can also select all the queue managers by pressing 'CTRL - A'.
Click 'Ok' when done, 'Cancel' to abort. This will add all the queue managers you selected to that authority group.
To remove already added queue manager, right click on that queue manager entry and select 'Delete'.
Click 'Ok' if you are done with this authority group, 'Cancel' to abort it.
You can create as many authority groups as you want this way. Once you are done with creating authority groups, you may proceed to creating users and assigning them with the authority groups.
Click on 'Set Users' button to assign authority groups to users.
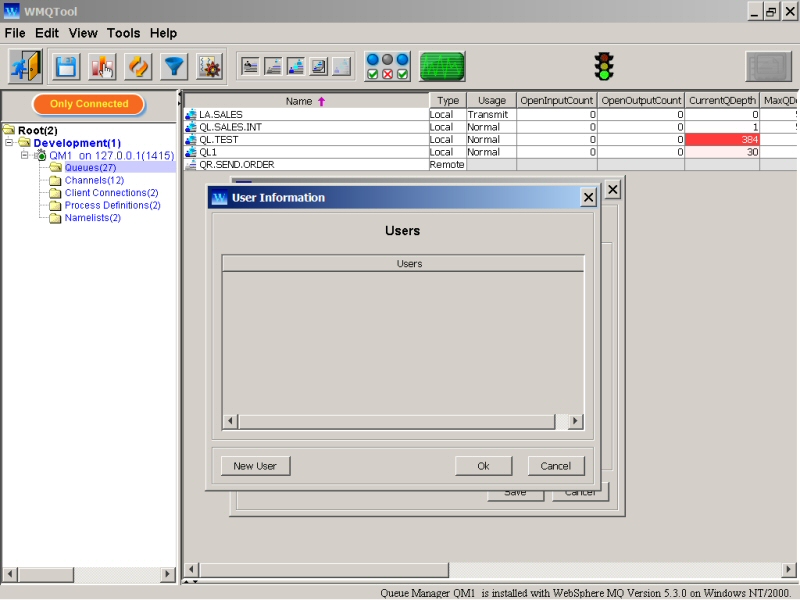
To add a user, click on 'New User' button. A new window will be opened as follows.
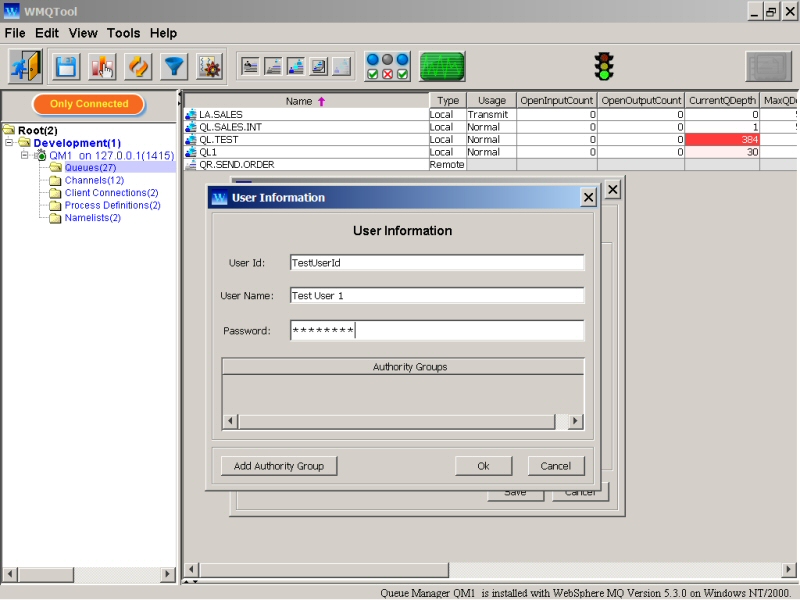
Enter the information for User Id and User Name fields. Ask the user to enter his/her password. When this user tries to run the tool, WMQTool asks this password to confirm the authorization. To assign authority groups to this user, click on 'Add Authority Group'. A new window will be displayed with the list of created authority groups.
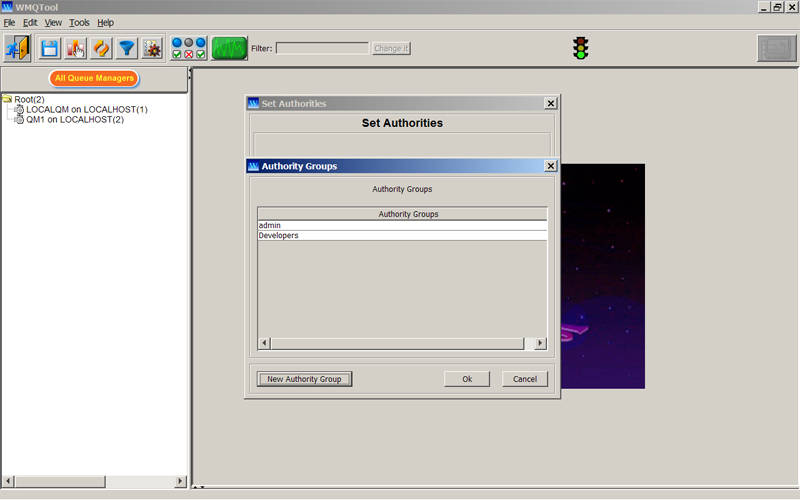
Select the authority group to be assigned. You can select one authority group at a time but you can assign as many authority groups as you want to one user.
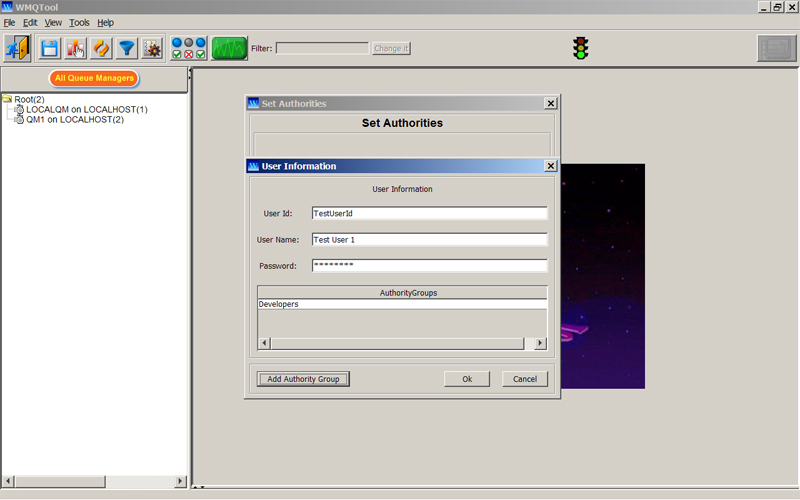
Click 'Ok' when you are done, 'Cancel' to abort.

The user entry is displayed in the list of users as userid : user name. Create all the users in your organization this way and assign appropriate authority groups.
As a System Administrator you can know all the changes in properties of MQ objects performed by all the users in the network. Enter a file name in the field 'Audit File' or click on 'Browse' button to select a file. Remember, this file should be on a shared drive and accessible by all users. WMQTool will log all the actions pertaining to any change in any properties of queue manager objects in that file. This will help you find who changed the properties of a queue or a channel or a process and when.
Click 'Ok' when done, 'Cancel' to abort.
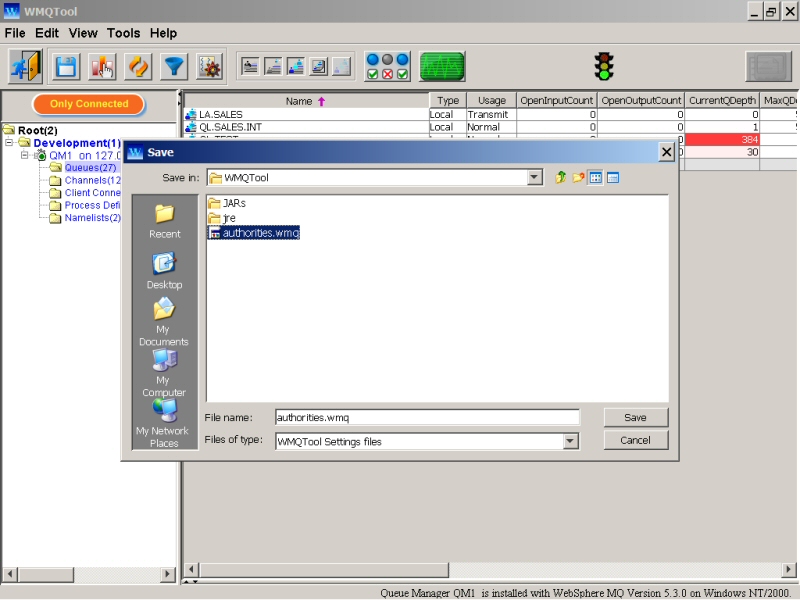
Now to save all this work in a file, click on 'Save' button. A file dialog will be opened as shown below.
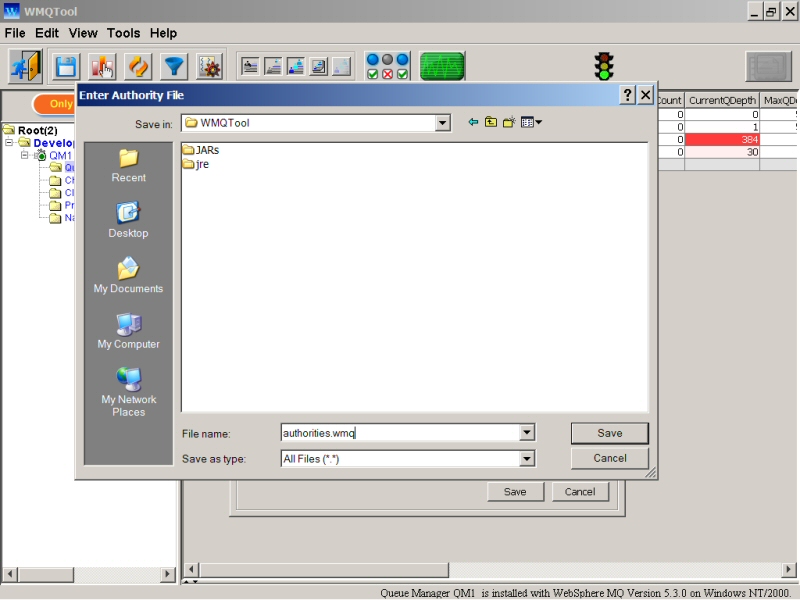
The default extension for a shared file is 'wmq'. So if you do not provide any extension, WMQTool will add 'wmq' as an extension for a shared file. Select the directory where you want to save and enter the shared file name. Click on 'Save' button on the file dialog.
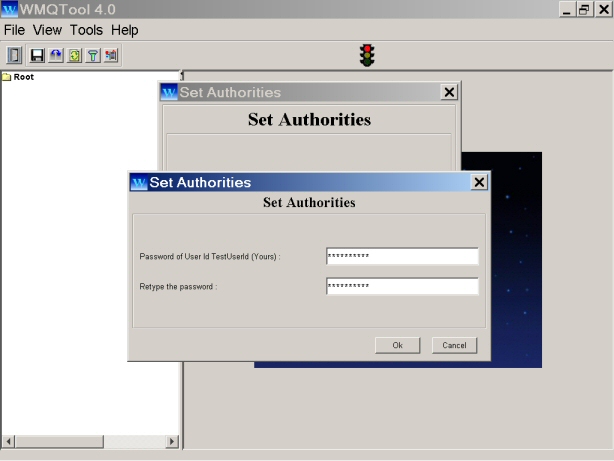
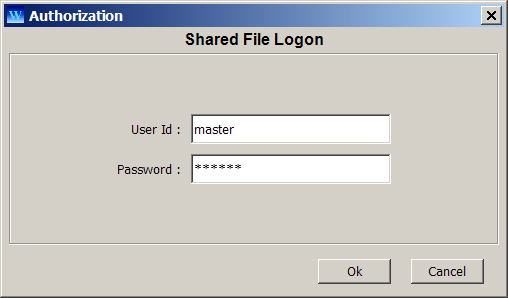
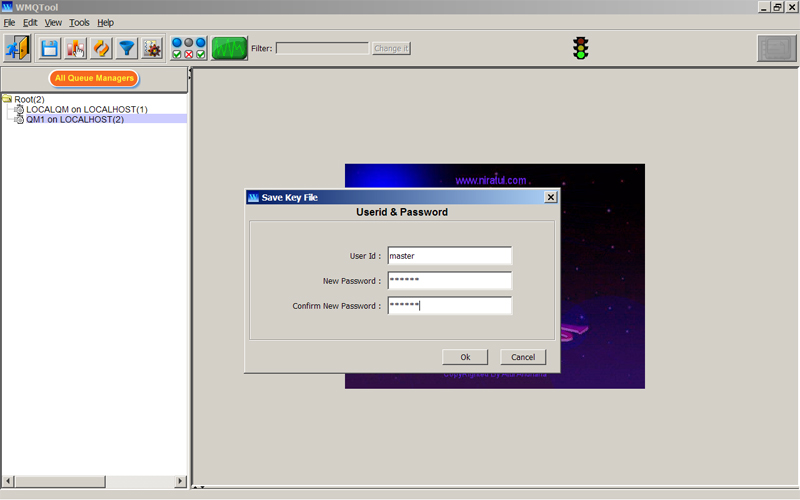
Now WMQTool asks you your password. Obviously, you should be having all the authorities to connect to all the queue managers provided in the queue manager tree. Enter the password two times and click 'Ok'. When you create a new shared file, WMQTool will ask you to enter your password two times to confirm it. When you are updating any existing shared file, WMQTool will ask you to enter your original password once.
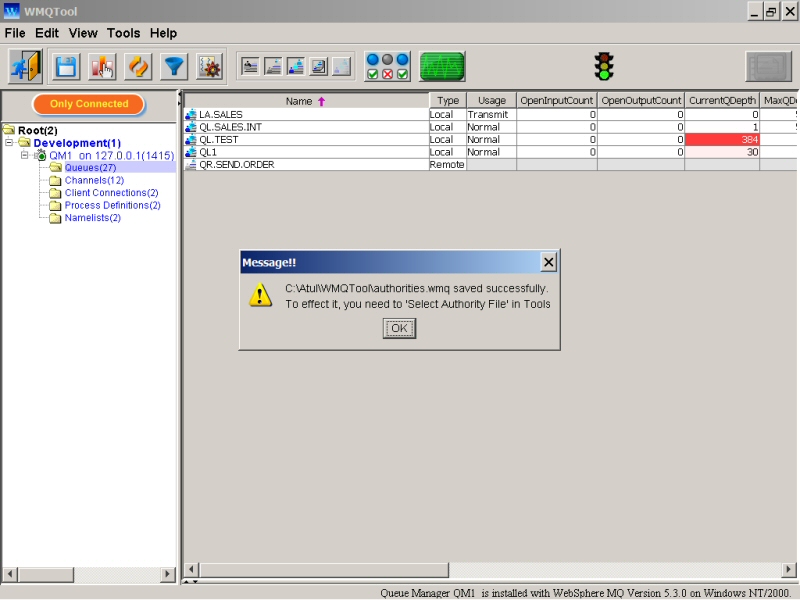
Finally, WMQTool will display a successful message as below.
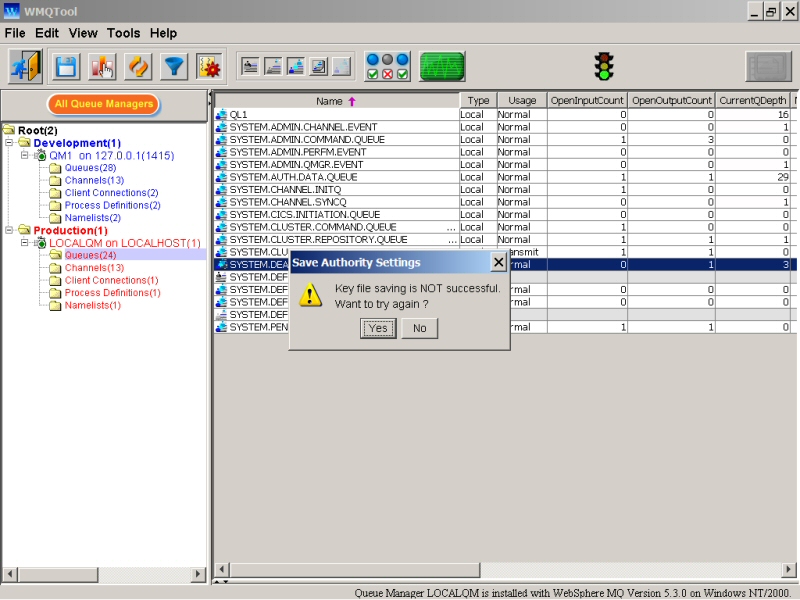
Please note, many times you may receive an unsuccessful message saying...
"Shared file saving is NOT successful.
Want to try again ?"
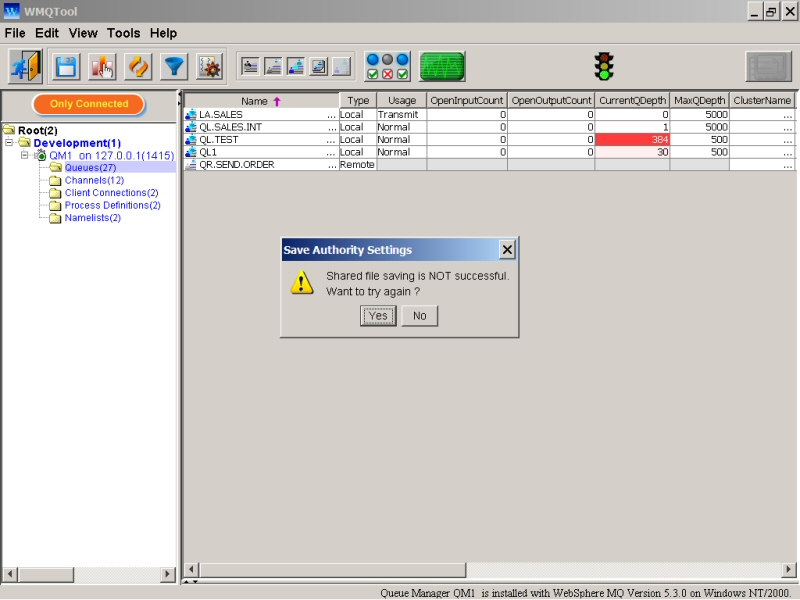
If you receive this message, respond to 'Yes'. Try this until you get the successful message. This problem is because, in certain circumstances, the key generated by Cryptography cannot be restored in its original form after encoding the Base64. WMQTool checks before saving it in the file that it can be decrypted in its original form.
Once this shared file is created, you can place it on a shared drive in your network. Then users are supposed to set this shared file in 'Select Authority File'.
To set it, select Tools/Shared Authority File/Select Authority File.
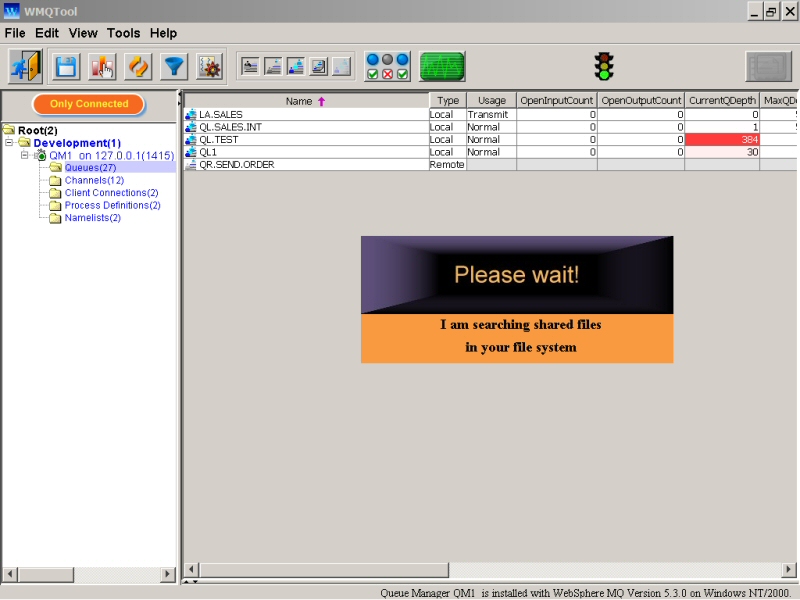
A file dialog is displayed to select the shared file, after searching for available shared files.
Select the shared file and click on 'Save' button to save it. A successful message is displayed.

Once WMQTool reads the information from a shared file, it deactivates 'Key File' menu option and activates 'Clear Shared File' option. To take effect of the shared file, user need to restart the WMQTool.
Now when user restarts the tool, he will be asked to enter his/her password.
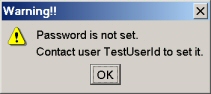
If password is not set for the user, following message will be displayed.
If the user 'Cancels' in 'Enter Password' window following message is displayed and user will not see any queue manager.

Note: Do not forget to set Security Exit before/after you set shared file. Without implementing Security Exit, WMQTool cannot secure any queue manager and its objects. Refer to following section for how to set security exit.
You can also authorize a user by creating a key file. Following section shows how to create a key file.
A highly encrypted and Base64 converted key file is generated for each user of WMQTool. This file contains information about the user, the person authorizing this user, user's all authorities and the queue manager information to which user can connect to. The name of the key file is automatically created by WMQTool. It is the userid of the user with '.key' extension. For example, if the userid is 'user1', the key file name generated will be 'user1.key'. When this user 'user1' logs into Windows and then starts WMQTool, WMQTool automatically finds his userid from the operating system and looks for the file 'user1.key'. If it can find this key file, it loads all the information from this file. If it cannot find the corresponding key file, it will start with only 'Root' in the queue manager tree. Once a key file is generated by using this option, you can make copies of settings to other user's files too. If you rename a key file to any other user's userid, WMQTool will reject it. It can find out whose that key file belongs to. So renaming of a key file for the use of another user will never work.
In addition, once a key file generated, it can be modified by its creator only. If the creator of that file is not available, you cannot make any change into that file. But you may delete it and get it recreated for that user by an authorized person.
Normally, there is no need of any authority to work with any MQSeries objects thru any Java application. So you will be able to connect any queue manager thru WMQTool or any Java application. To restrict this, you need to install a Security Exit on your Server Connection Channels. To secure your queue manager from unauthorized users, you need to install Security Exit on all your Server Connection channels. WMQTool uses following two Server Connection channels for client connections.
<Server connection channel with the same name of the queue manager name>
SYSTEM.ADMIN.SVRCONN
When WMQTool tries to connect a queue manager, first it tries thru the Server Connection channel having the same name that of queue manager. If it fails or not available, it tries SYSTEM.ADMIN.SVRCONN. If it still fails, it reports with error and gives reason code 2059, that is queue manager not available.
So to secure your queue managers from unauthorized users of WMQTool, you need to install a security exit on all these (and any other you might have created for other applications to use) Server Connection channels. Now let us understand how a security exit works.
A security exit is nothing but a programme which authenticates/rejects a user for client/server connection to a queue manager. It works in pair, one from Server side and one from client side. The server side security exit is always written in C language. It is not an executable (exe) file, but it is a DLL. You can download this DLL (SecExit.dll) from here. This DLL is compiled by using Microsoft Corporation's C++ compiler. You can also find its source (SecExit.c) here. This SecExit.dll is created to work in conjunction with WMQTool. It is tested only on Windows platform. So if you want to install it for any other platform, you can use the SecExit.c source file to compile it on that platform. You may need to change the source depending upon the environment.
This security exit (SecExit.dll) should be installed in the 'Exits' folder of MQSeries base folder. For example,
C:\Program Files\IBM\MQSeries\Exits
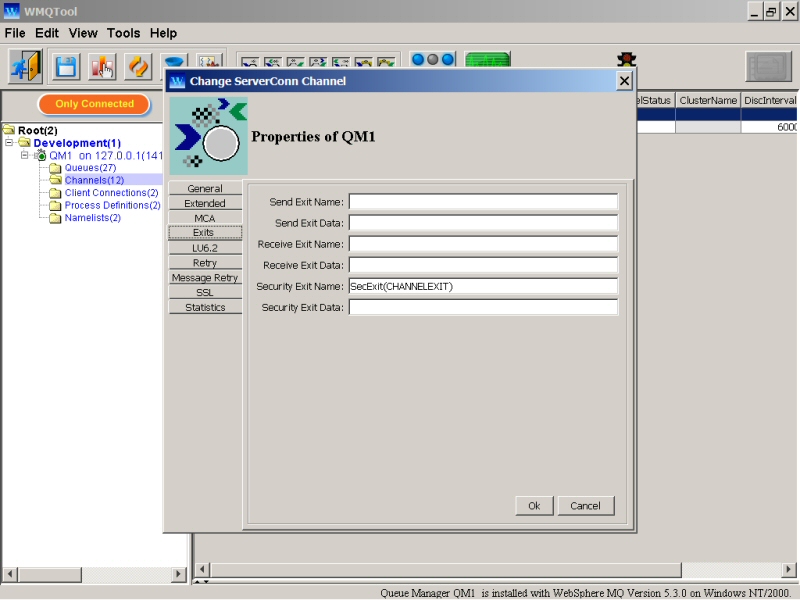
Next thing, you need to do is, provide Security Exit name in properties of Server Connection channels listed above. Type 'SecExit(CHANNELEXIT)'. Please be very perfect in spelling and letter case as C is case sensitive.
The client side of Security exit is already there in WMQTool. So you do not have to do anything for it. WMQTool can automatically detect if there is any Security exit installed or not.
Once you install this Security exit in these 2 server connection channels in your queue manager, all applications and tools using any of these 2 server connection channels will stop working, including older versions of WMQTool. Only WMQTool 3.0 and later will work if a shared file or authorized key file is generated. For your applications who need to connect the queue manager directly thru client connections, you may create a dedicated Server Connection channel for those applications, without providing Security Exit Name in its properties. For example, you may create a Server Connection channel, say APPL.SERVER.CONN without specifying security exit in its properties. Then all your applications can directly connect to this queue manager thru this Server Connection Channel.
Now let us see how to set authorities in WMQTool.
To achieve this, a special screen is provided to select the authorities on all the objects. Select 'Tools/Set Authorities/Key File' from the menu at the top.
Once you select the 'Key File' from the menu, you will be asked to type a userid. WMQTool will try to load the settings already provided in the key file of this userid. This is to help you load a particular set of settings, so that you may want to copy these settings to any other userid. In short, this is the way how you can copy settings of one user to another.
If you leave this blank or provide any invalid userid or provide a userid whose key file is not present, WMQTool loads the default settings with all authorities assigned.
If the authorized userid of the key file of this userid is not yours, you will not be allowed to modify it. So all the options will be deactivated. You can only press 'Cancel' button.
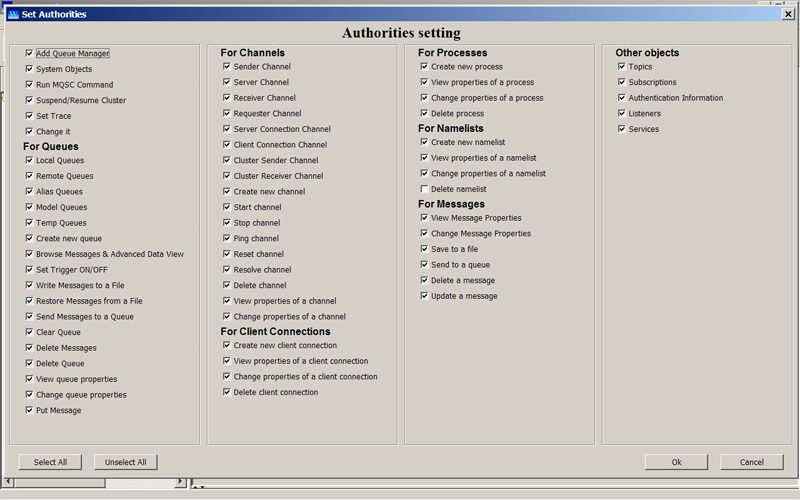
You can find out who is the authorized user of this file by looking at the line below the title 'Authorities setting".
But if you are the authorized person for that key file, or you are creating the file for the first time, you will see the screen like following.
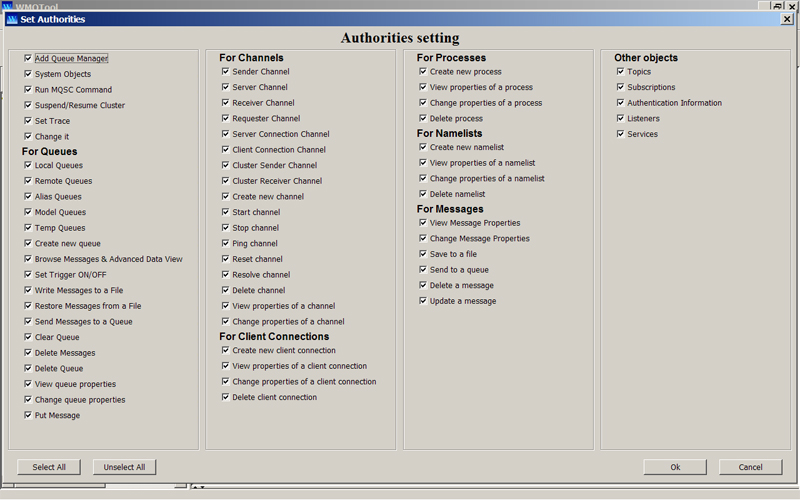
Leave the check box marked for the authorities you want to assign, otherwise unmark it. To select all the authorities, you may click on 'Select All' button in left bottom corner. Sameway, you can unselect all the check boxes by clicking on 'Unselect All' button. Some check boxes are automatically unmarked/deactivated when you unselect a related check box. For example, if you unselect 'Local Queues', 'Temp Queue' is disabled because all Temp queues are basically local queues. Also, all the authorities pertaining to messages are deactivated. This is because messages are stored only on Local queues. So if a user is not allowed to do anything with Local queues, automatically he is not allowed to do any action on messages.
When you are done, select 'Ok' button to save it, 'Cancel' to abort. If you hit 'Ok' button, if will ask you if you want to store it permanently. To create a key file, you need to save it permanently. Alternatively, you can hit 'No' and the effect of these authorities will be for current user and for current session only. No key file will be created.
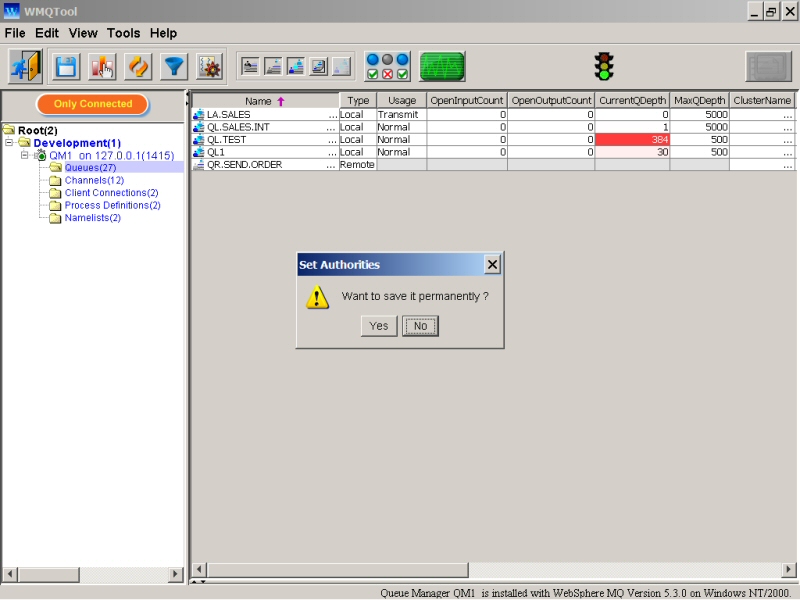
If you receive following message select 'Yes' to save it.
Once you select to save it permanently, it will ask you for the user id of the person for whom you want to create the key file. It may be you or any other user. So type in the USERID of the user for whom you want to create a key file in the field 'Save these authorities for User Id'. Enter YOUR password in the field 'Password of User Id <your userid> (Yours)'. This password along with your user id will be used to connect the queue manager. If you are not authorized to connect to the queue manager, queue manager will reject the connection with reason code 2035, not authorized. Once the connection with the queue manager is successfully established, WMQTool restricts the user as per the authorities set in this key file.

Hit 'Ok' to save it, 'Cancel' to abort.
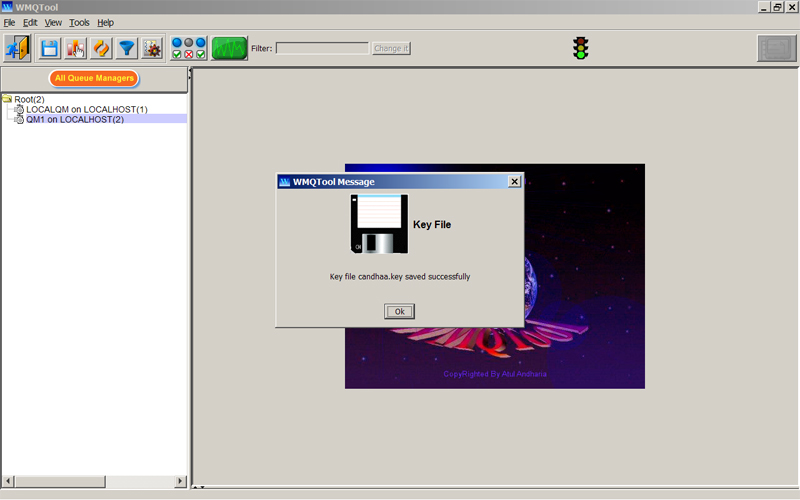
Finally, a successful saving of current settings is displayed.
Setting Security Exit for WMQTool:
To make this work, please make sure that the authorized person's userid has full authority on that queue manager on the MQ Server and the userid of the user has no authority on that queue manager. If the userid of the user is created on MQ Server, you can make sure that he has no authorities on that queue manager by entering MQSeries control command at command prompt. For userid 'Test' and queue manager 'LOCALQM', enter the following command in command window.
dspmqaut -m LOCALQM -t qmgr -p Test
It should respond you with the following message.
Entity Test has the following authorizations for object LOCALQM:
Notice that there are no action abbreviations like inq, connect, crt, dlt etc. displayed after above line. If that userid is not defined on the MQServer, you will receive following error message.
AMQ7026: A principal or group name was invalid.
If it displays any authority, you can revoke it by WebSphere MQ control command 'setmqaut' as follows.
setmqaut -m LOCALQM -t qmgr -p Test -all
If you do not revoke his authorities on that queue manager, this user can then create his own key file by himself and get connection to the queue manager. He can then set all the authorities in the option 'Set Authorities' and do anything with all the MQSeries objects.
Note: If you change the authorities by 'setmqaut' command but you feel like WMQTool has no effect of it, then restart the queue manager to take effect of the user authorities set by command 'setmqaut'.
Once you have successfully created the key file for the user, the user needs to copy this key file into WMQTool directory in his machine to work with WMQTool.