
Filtering Messages:
This feature allows you to extract 'intended only' messages out of a bunch of thousands of messages. You can 'filter out' your required messages by setting your own expression. For example, you might want to isolate the messages having a specific user id OR CCSID OR message length OR message priority OR whatever. Filtering Messages feature of WMQTool will easily let you filter out those messages. What if you want to set a complex formula like 'messages with a particular user id and data containing a string 231.21' ? That too, you can very easily set. What if you cannot set any expression or rule to filter out messages but you want to manually pick the messages up from the list ? You can easily mark/unmark 'check boxes' in front of the messages. The selected messages can be sent to another queue, written in a file on hard drive OR can be deleted permanently.
Remember, Filtering Messages will be disabled if it is not authorized in Authorities.
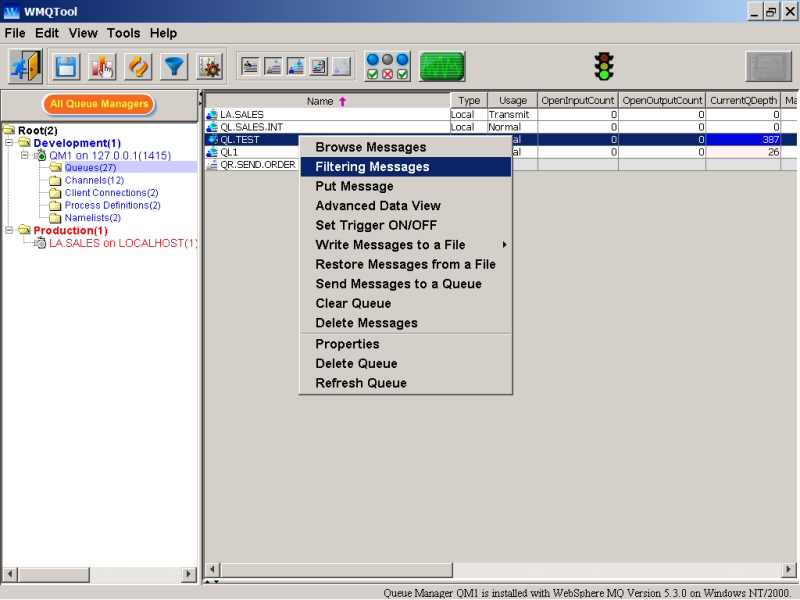
To use this feature, right click on the queue and select 'Filtering Messages'.
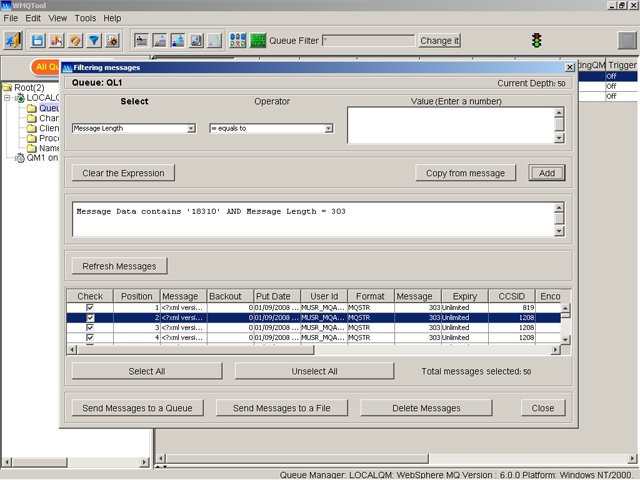
A new window will be opened as follows.
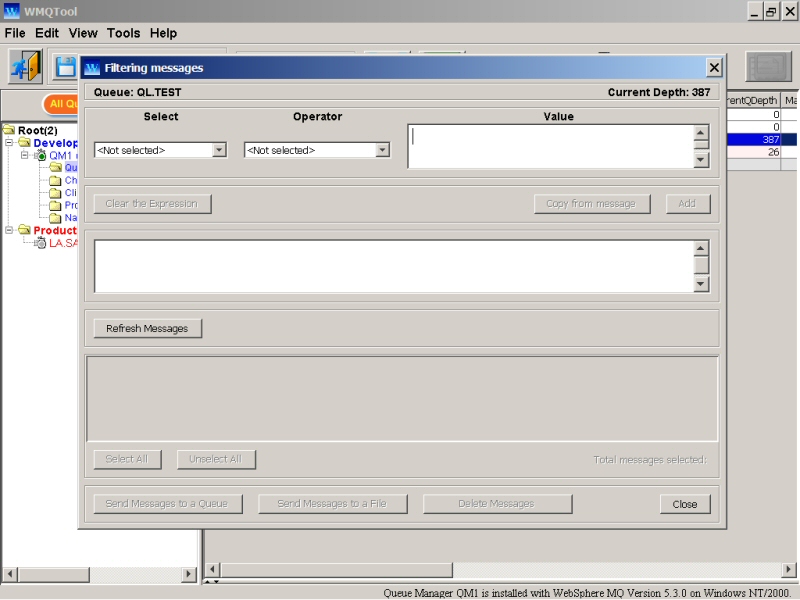
In the beginning, all the buttons except 'Refresh Messages' and 'Close' are deactivated. At this point, you can start making expression by selecting from the drop downs and entering value into 'Value' box. You can click on 'Refresh Messages' to retrieve all the messages in the queue to browse them in the lower window. WMQTool will bring up all the messages as you have not set any expression yet. This step is NOT mandatory. You can directly start setting the expression and then click on 'Refresh Messages'. But refreshing all the messages first without setting any expression is helpful to refer to message properties while setting the expression.
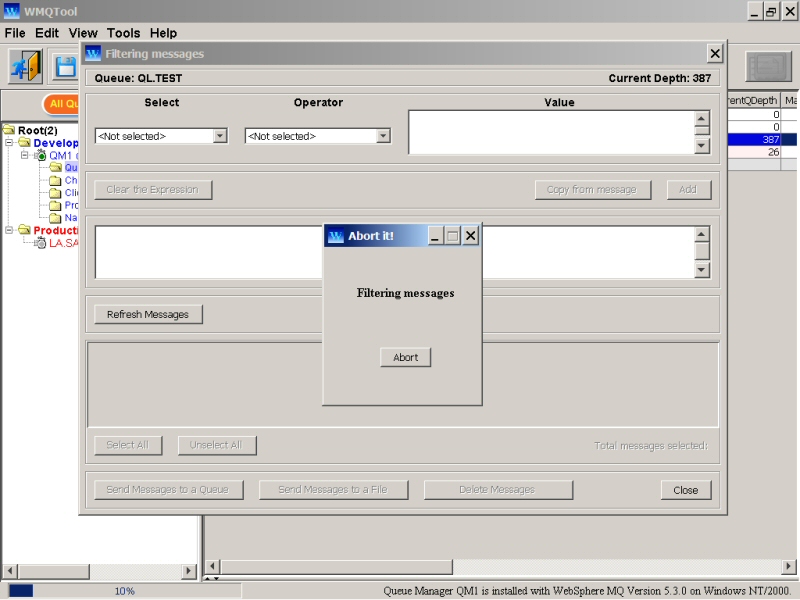
When you click on 'Refresh Messages' button, WMQTool will display an abort window and a progress bar, as usual.
When the messages are refreshed, buttons 'Select All', 'Unselect All', 'Send Messages to a Queue', 'Send Messages to a File' and 'Delete Messages' are activated. The label on right side 'Total messages selected' is activated and shows the number of messages selected. If any of 'Send Messages to a Queue', 'Send Messages to a File' and 'Delete Messages' is disabled, it means that, that function is not authorized to you. To authorize that function, you should get it check marked thru Tools/Set Authorities.
Now select the message field on which you want to set the expression. The field can be any property of a message like, userid, CCSID, message id, correlation id, message length, anything OR the message data.
Click on the left drop down below the label 'Select'. Select the desired field. For data, you can select 'Message Data'. Depending upon the field you select, the label on the rightmost window 'Value' will change. It means, it will display instructions about what type of value you are supposed to enter in 'Value' box. For example, when you select 'User Id', it will display '(Enter a string)'.
Click on the drop down in the middle which is under the label 'Operator' to select the operator of the expression. You can select any of the following.
contains used with Message Data
< less than
= equals to
> greater than
<= less than or equals to
>= greater than or equals to
!= not equals to
AND
OR
NOT
Select the appropriate operator from the drop down. As soon as you select a field and an operator, 'Add' button is activated.
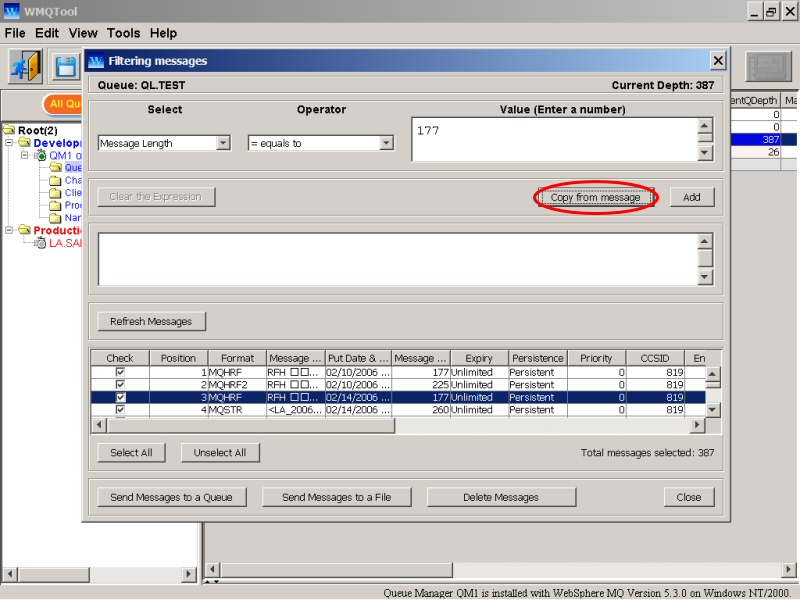
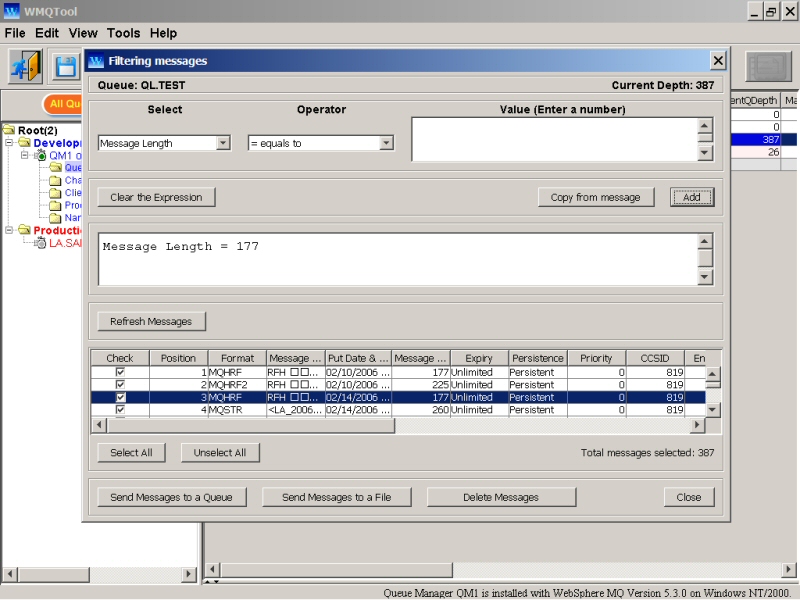
Now you are supposed to enter the value in the 'Value' box. What type of value is supposed to be entered, is already indicated in a parentheses after the label 'Value'. You can type the value or copy the value from the message. It is advisable to ask WMQTool to copy value directly from the message. You can ask WMQTool to copy the value by clicking on 'Copy from message' button. This button is only activated when you select a row/message from the messages browse window. So click on the message from which you want to copy the value into Value box to select it. The 'Copy from message' button will be activated now. Click on it to copy the value.
So at this point, you are ready to construct an expression from the field, operator and value. Click on 'Add' button. The expression is generated in the box above the browsing window and the button 'Clear the Expression' is activated.
If you click on 'Refresh Messages' button now, only messages for which the expression is true will be displayed in the browsing window.
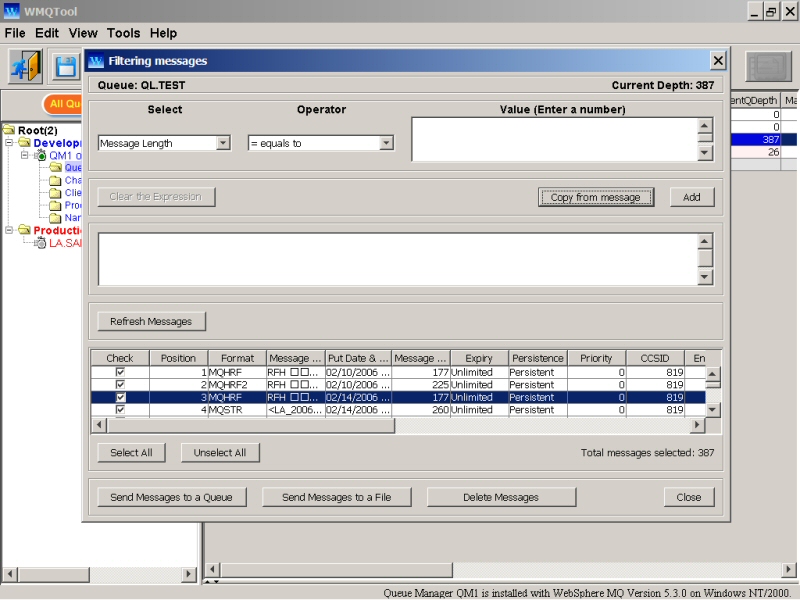
To enter a new expression and clear the old one, click on the button 'Clear the Expression'.
Suppose, you want to find out messages having a particular value in the data. To achieve this, select 'Message Data' as field from the left drop down. Select 'contains' as an operator from the middle drop down. Enter the desired value in the 'Value' box. Then click on 'Add' button.

The expression is generated in the 'Expression' window. Click on 'Refresh Messages' button to select only messages having data containing the string you entered as a value. Remember, when you select 'Message Data' as a field, WMQTool checks full data of all the messages. As WMQTool does not store full message data in memory, it has to retrieve the full message data. So every time you click on 'Refresh Messages' button, WMQTool will read all the messages again to check the full message data and hence you will see the abort window and the progress bar.
You may want to set a complex expression using any of the logical operators AND, OR and NOT.
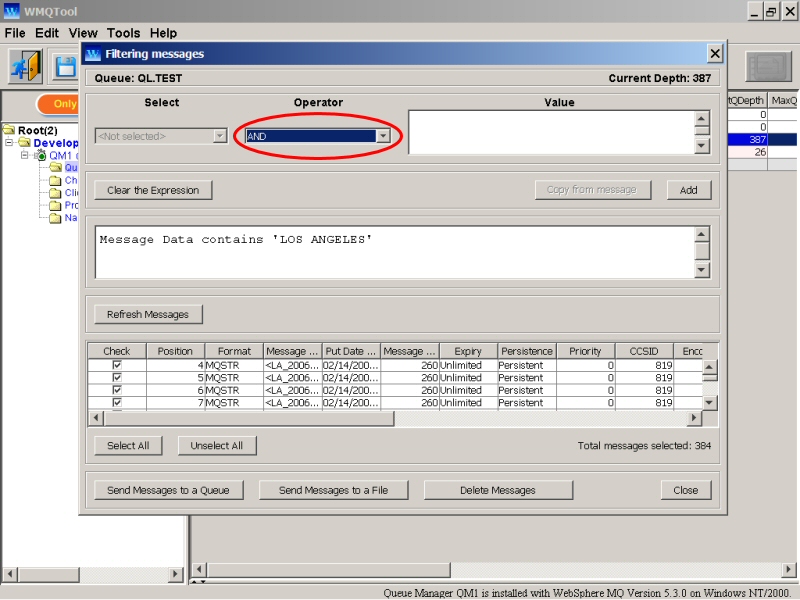
Then select 'AND' operator from the operator drop down in the middle. The field drop down and Value box are deactivated. Click on 'Add' button. The expression in the expression box is having 'AND' as suffix. Then complete the remaining part of the expression.
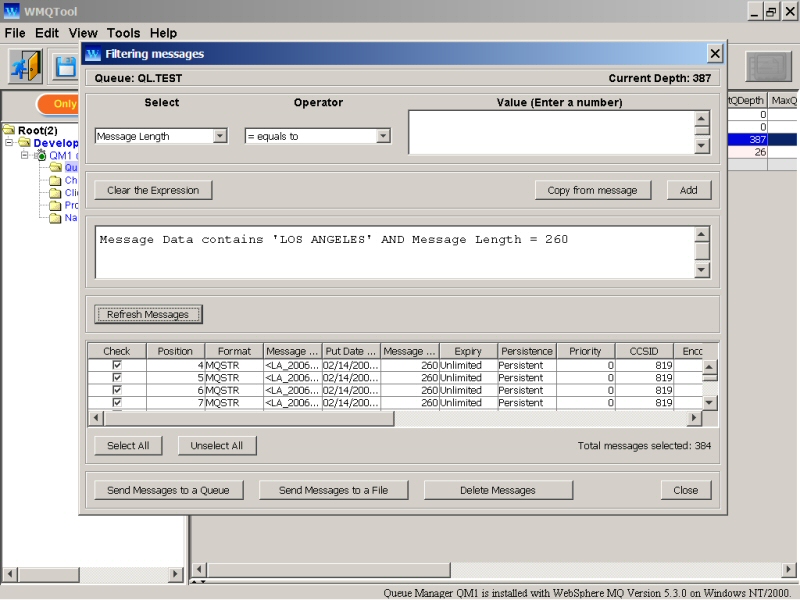
After generating the complex expression as above, click on 'Refresh Messages' button to filter out the messages depending upon the expression. Browse window will display only messages matching the expression to true.
In browse window, you can still have manual selection option. Check/uncheck boxes in front of each message to select/unselect messages. Only checked messages will be considered for following 3 options.
You have 3 options to deal with these filtered messages. You can send them to a queue, write in a file or delete them.
Click on 'Send Messages to a Queue' to send to a queue. A window is displayed asking you the information about the destination queue as follows.
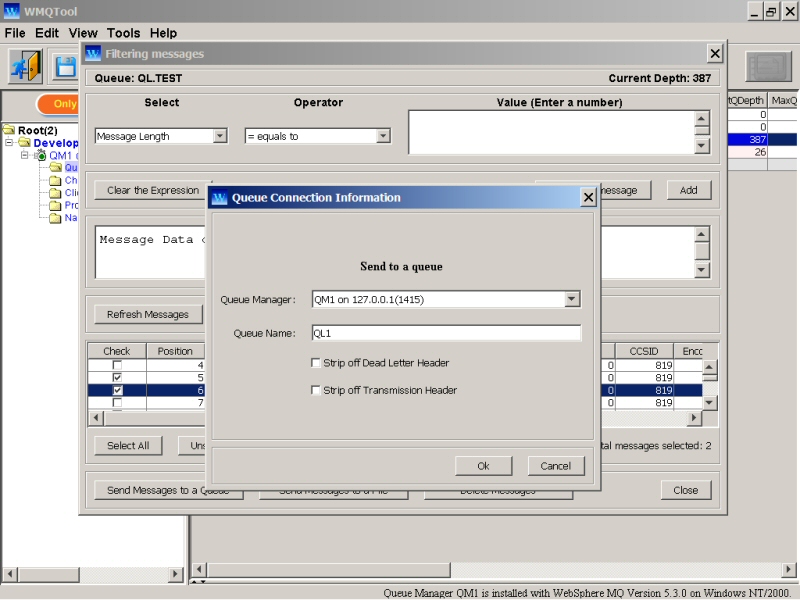
When you click on 'Ok' button, only selected messages will be sent.
Click on 'Send Messages to a File' button to send the messages to a file. A file dialog is displayed to ask you the destination file name. Enter a file name and select its folder. Then click on 'Save' button on the dialog box. All the selected messages will be saved in that file.
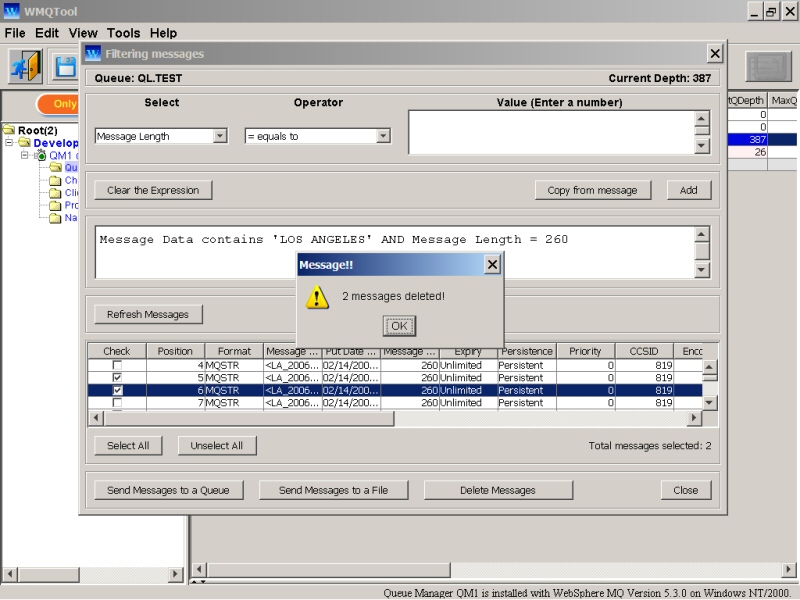
Click on 'Delete Messages' button to delete selected messages. Before deleting the messages, WMQTool will ask you to confirm it. Only selected messages are deleted.